
If your popcorn ceiling needs a refresh, one of the easiest things you can do is give it a fresh coat of paint. Learning how to paint a popcorn ceiling is simple, especially compared to covering your ceiling or removing the texture completely.
Chances are, if you have an older home, you probably have a popcorn ceiling. Popcorn ceilings were popular between the 1930s and 1990s because of the way they hide ceiling flaws as well as soundproof between floors. Since then, popcorn ceilings have gone out of style. Most new builds go for flat ceilings rather than any sort of texture. In fact, having popcorn ceilings in your home can decrease its value.
Wondering how to paint a popcorn ceiling? Read our guide to learn everything you need to know.
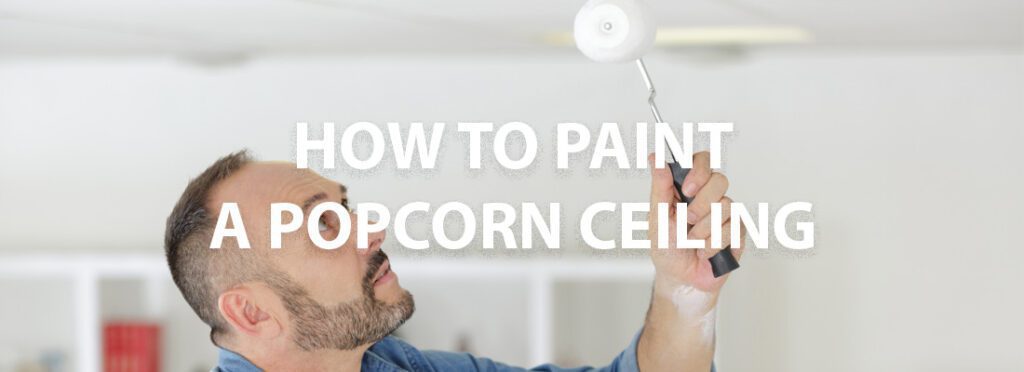
How to Paint a Popcorn Ceiling
If your popcorn ceiling has become yellow and dull, you might be looking to redo your ceiling. Removing the popcorn ceiling is one option, but it’s messy and expensive. Painting your popcorn ceiling is an easy way to brighten and refresh your ceiling. Read our best tips on how to paint a popcorn ceiling:
- Test your ceiling for asbestos. Asbestos was used in many popcorn ceilings because of its strength and resistance to heat. Unfortunately, asbestos can cause lung cancer and other health problems. In 1978, federal law banned the use of asbestos in products, but some that had already been manufactured were still sold on the market through the 80s. If your home was built in the mid-80s or earlier, you’ll want to test your popcorn ceiling for asbestos. Even if your ceiling does have asbestos, you won’t necessarily have to remove it. You’ll just want to be careful not to sand or drill the ceiling.
- Protect your room. Painting your ceiling can be messy. You’ll want to cover your floors with plastic sheeting. Remove light fixtures or use painter’s tape to protect them.
- Clean your ceiling. Popcorn ceilings are magnets for dust. Dust and grime on the ceiling will affect how well your paint goes on.
- Cut in two inches with a paintbrush. You’ll want to do this around the perimeter, where the ceiling meets the wall, as well as around light fixtures and smoke alarms. Additionally, you’ll probably want to apply painter’s tape to the walls for clean lines.
- Test your ceiling for previous finishes. This can be easily done by flicking small drops of water at your popcorn ceiling. If the water is quickly absorbed, the ceiling either has no previous paint or a coat that allows absorption. Water that beads indicates a glossy or semi-glossy finish.
- Load your roller with paint. Depending on how textured your popcorn ceiling is, you’ll want either a ⅜” (for fine to medium texture) or ½” nap (for heavier texture). Make sure you roll out some of the excess paint.
- Apply the paint in a thin, even coat. Using a roller attached to a painter’s pole will be the easiest way to paint your popcorn ceiling. Make sure not to use too much paint. This can cause the popcorn ceiling to become too heavy and flake off.
- Let the first coat dry. Wait at least two hours. If you live in a humid area, you may want to wait at least four hours between coats. Using a fan or opening a window in the room will help with airflow.
- Apply your second coat of paint, going in the opposite direction to cover up lines and roller marks from the first coat.
- After the ceiling has dried, touch up any spots that remain.
Can You Paint Apartment Walls in California?
How to Clean a Popcorn Ceiling
When cleaning your popcorn ceiling, you’ll want to take special care. If your home was built in the mid-80s or before that, there’s a chance your popcorn ceiling has asbestos in it. When undisturbed, asbestos doesn’t pose a health risk. However, peeling, cracking, or drilling into the ceiling can release asbestos particles into the air. Breathing in asbestos puts you at risk for lung cancer, mesothelioma, and asbestosis.
Unfortunately, popcorn ceilings are magnets for dust. The texture provides perfect pockets for dust to collect. Luckily, cleaning your popcorn ceiling is fairly simple. Follow these steps to clean your popcorn ceiling:
- Cover furnishings and floor with plastic tarps.
- Mask up. You’ll want to wear a protective mask and goggles to protect your eyes.
- Remove dust. You can use a broom, a vacuum cleaner, or duct tape on a roller to remove the dust. Make sure not to press too firmly. You don’t want to break off any of the texture.
- Clean the ceiling with your cleaner of choice. You’ll probably want to test a small, inconspicuous area before cleaning the whole ceiling. Warm water with dish soap works well for grease stains, while a solution of bleach and water can be used for water, smoke, and mildew stains.
- Let the ceiling dry overnight. You can open windows or run fans to keep air circulating in the room.
Type of Paint to Use
If you’re wondering how to paint a popcorn ceiling, you probably want to know what kind of paint to use. The best type of paint to use for your popcorn ceiling is an interior acrylic-latex.
Additionally, most people use a flat sheen to paint their ceiling. Flat or matte paints hide imperfections better than glossier sheens. And while flat paints are harder to clean than satin sheens or above, you’re not likely to need to clean your ceiling very often.
How Much Paint You’ll Need
One gallon of paint usually covers 400 to 500 square feet of flat ceiling. However, because popcorn ceilings have more surface area to cover, you’ll need at least double that amount. When painting your popcorn ceiling, expect to use two gallons of paint per 400 to 500 square feet of ceiling.
How Much Does It Cost to Remove Popcorn Ceiling?
If after learning how to paint a popcorn ceiling, you’d rather have the texture removed altogether, you probably want to know the cost. The cost to remove popcorn ceiling from your home will depend on the asbestos risk and the size of your home. Typically, contractors charge $1 to $2 per square foot of removal, with an average range of $1,010 to $2,060 for the whole project.
Tools Needed
If you’re looking to DIY your popcorn ceiling removal to save some money, you’ll need a few tools to do the job.
- Plastic sheeting to cover everything in the room
- A 6” to 12” ceiling texture scraper
- A mud pan to catch as much mess as you can
- A pump sprayer to wet the ceiling before removal
- Painter’s tape to cover electrical junction boxes in the ceiling
Benefits of Hiring a Professional
Although DIY might be tempting, hiring a professional like Paintrite Pros to remove your popcorn ceiling comes with a lot of benefits:
- Prep work and clean up is taken care of for you.
- Less chance of damaging the substrate, which is costly to repair.
- Work is guaranteed.
- Avoid injury from craning your neck and working on a ladder.
- Avoid exposure to lung-damaging asbestos.
Professional Popcorn Ceiling Removal in Sacramento
If after learning how to paint a popcorn ceiling you decide you’d rather have it removed, it’s time to call in the professionals at Paintrite Pros. With over 25 years of experience in the Sacramento area, we have the experience to remove your popcorn ceilings safely and efficiently. We guarantee our work from start to finish. We serve the entire Sacramento area including Dixon, Roseville, Stockton, and more!
Tags: how to clean a popcorn ceiling, How to Paint a Popcorn Ceiling